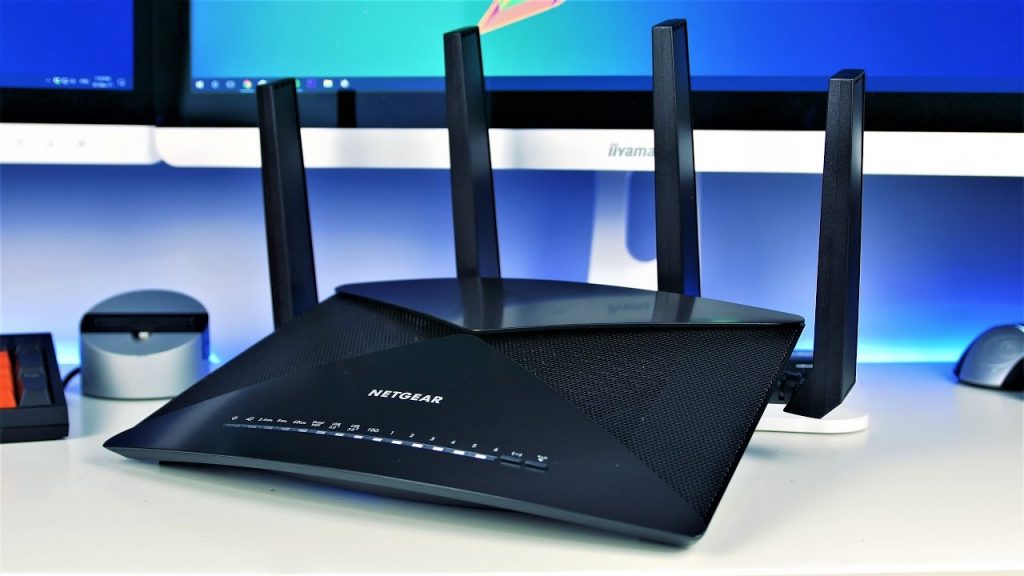
Netgear Nighthawk routers are one of the most preferred WiFi devices among users. The reason for their popularity is their superb WiFi performance and ease to use quality. The Nighthawk app has made it super easy for users to access their Netgear router’s settings. The major perk offered by the app is that it operates on both Android and iOS devices. So, you can easily manage your router using your smartphone.
If you also want to have easy access to your router’s settings, then we highly recommend you use the Nighthawk app. Here, we will provide you with step-by-step guidelines to change the WiFi settings of your Netgear router using the Nighthawk app. So, without any further ado, read on.
Steps to Change WiFi Settings via Nighthawk App
1. Switch On Your Nighthawk Router
Let’s begin with powering up your Netgear router. So, plug your Netgear router into an electrical outlet. Make sure that the electrical outlet is non-damaged. After plugging in the router, press the Power button. Now, wait for the power LED on your Netgear Nighthawk router to glow solid green.
2. Connect Your WiFi Devices
The next step is to create a connection between your Netgear router and the existing modem. For this, you have two options – a wireless source or a wired connection. No matter which connection you choose, make sure that it is steady.
If you opt to connect your WiFi devices via an Ethernet cable, do not forget to look for cuts. For a stable connection, it is mandatory to use a damage-free Ethernet cable.
3. Download the Nighthawk App
Once your WiFi devices are connected properly, it is time to download the Nighthawk router app.
So, unlock your smartphone. Head over to the App Store or Google Play Store as per the availability of your device. Search for the Netgear Nighthawk app. Select the app from the displayed results and tap the Download button.
4. Create a Netgear Account
After the installation process finishes, launch the Nighthawk app by tapping its icon. You will be prompted to create a Netgear account.
To create a Netgear account, fill in your e-mail ID and the password into their required fields..
5. Log in to Your Nighthawk Router
Now that you’ve created your Netgear account, it is time to log in to your Nighthawk router. So, enter the default admin details of your Netgear Nighthawk router into their respective fields.
Keep in mind that the default username and password of your router are case-sensitive. So, be careful while entering them. Also, turn the Caps Lock option on your keyboard off.Once done, tap the Log In button. Tapping the button will take you to the Netgear Genie setup wizard.
6. Change the WiFi Settings
On the Netgear Genie setup wizard, look for the WiFi Settings menu. Tap it to reveal the WiFi details of your Netgear Nighthawk router’s WiFi network. Now, type the new SSID of your Nighthawk router into the WiFi Network Name (SSID) field. Ensure that the SSID should be different from that of the neighboring WiFi networks.
Afterward, type the new password of the Netgear Nighthawk router’s WiFi network into the Network Key (Password) field. The password should be difficult to guess. Once done, tap the Save button.
The WiFi settings of your Netgear Nighthawk router will become effective and the devices connected to its network via the wireless mode will disconnect. So, reconnect them using the new WiFi details in order to access a seamless internet connection.
Quick Tip: If you want to use the Netgear router app on your computer, you can download the Nighthawk app for PC using the Emulator and enjoy managing your router.
To Sum Up
This was all about how to change the WiFi settings of your Netgear router using the Nighthawk app. We hope that you’ll be able to do so with ease. Thanks for reading the article.

